Email Input
The Email input type gives you a dedicated email address that forwards received messages to your configured outputs. This is perfect for services that send email notifications but don't support webhooks.
ADD a mermaid to show how email input
flowchart TD
    A[Email Sent to SMTP Server] --> B[SMTP Server Receives Email]
    B --> C[Parse & Extract Email Data]
    C --> D[Forward Raw Email Data to Relaye.io]
    D --> E[Relaye.io Processes Email]
    E --> F[Transform Email to JSON Format]
    F --> G[Deliver JSON Payload to Notification Destinations]

    classDef endpoint fill:#f9f,stroke:#333,stroke-width:2px;
    class A,G endpoint;
How It Works
When you create an Email input, Relaye generates a unique email address. When an email is sent to this address:
- Relaye receives and parses the email
- The email content and metadata are stored as an incoming log
- Any enabled connections linked to this input are triggered
- Each connection applies its template to the email data
- The formatted notification is sent to the configured output
This allows you to transform email notifications into concise messages delivered to your preferred channels.
Creating an Email Input
To create an Email input:
- Go to the Inputs section
- Click New Input
- Select Email as the input type
- Give your input a descriptive name
- (Optional) Add a description
- Save to generate your unique email address
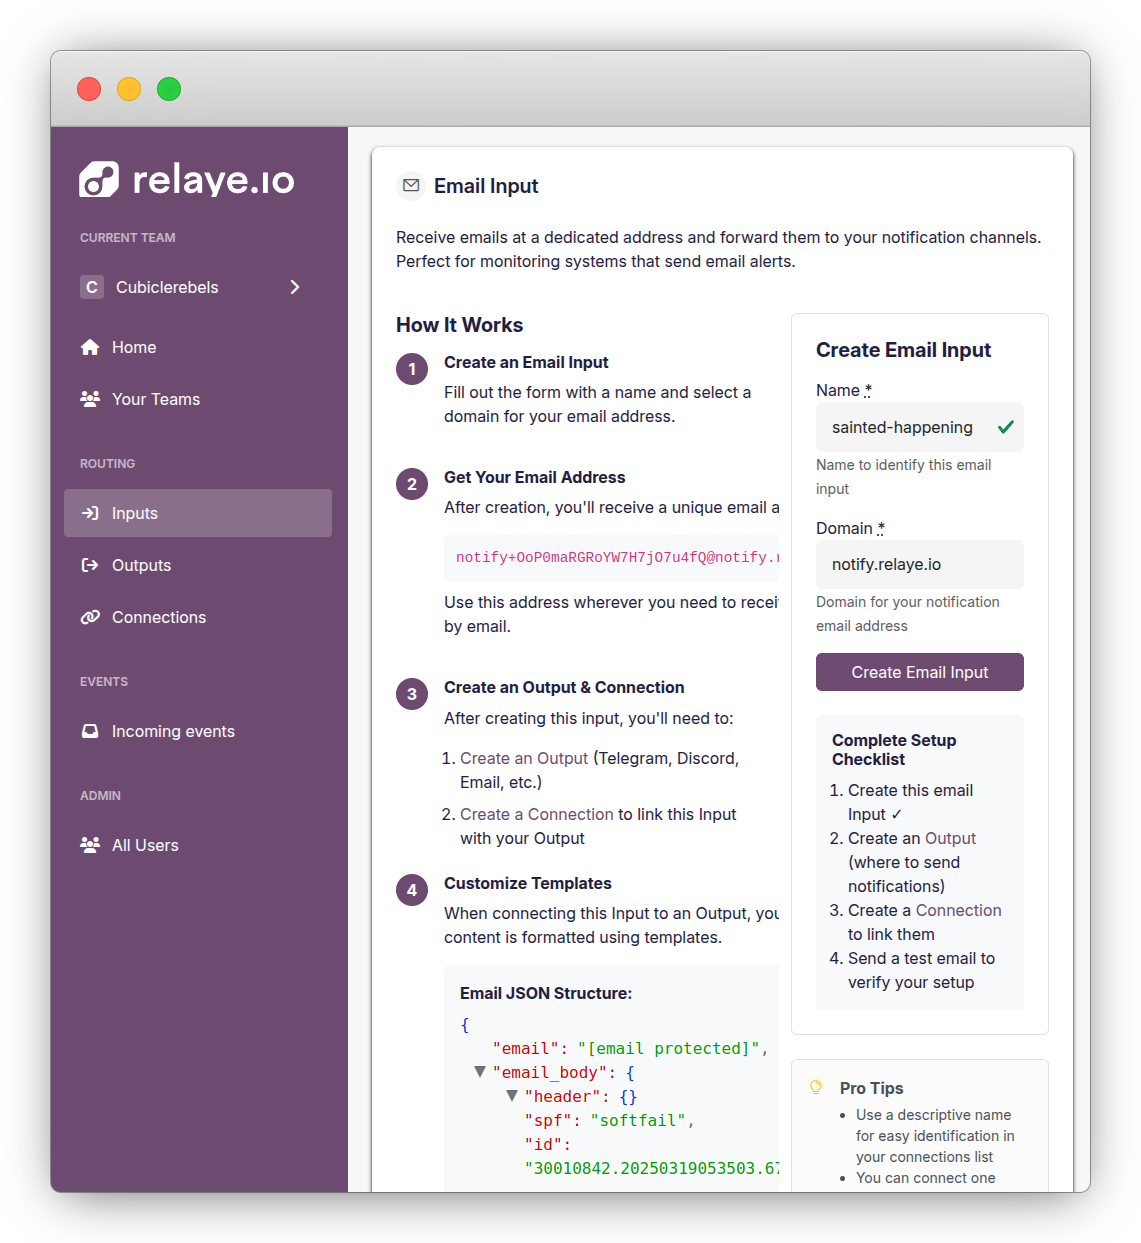
After saving, you'll see your unique email address. This is the address you'll provide to services that will send email notifications to Relaye.
Using Your Email Input
Email Address
Your email address will look something like this:
This email address is unique to this input and forwards all received messages to your Relaye instance.
Configuring Services
To use your Email input with external services:
- Copy your unique email address
- Configure the service to send notifications to this email address
- Test by sending a sample email
Many monitoring tools, CI/CD platforms, and backup services allow you to configure email notifications. Simply use your Relaye email address instead of a personal email.
Email Data Structure
When an email is received, Relaye parses it into a structured format that you can access in your templates. The email data includes:
- Subject: The email subject line
- Body: The email body (both HTML and text versions)
- From: The sender's email address
- Date: When the email was sent
- Attachments: Any files attached to the email
Example Email Data
{
  "email": "notify+YOUR_INPUT_TOKEN@notify.relaye.io",
  "email_body": {
    "header": {},
    "spf": "softfail",
    "id": "30010842.20250319053503.67da5787773810.70277056@no",
    "date": "2025-03-19 05:35:03 +0000 UTC",
    "subject": "Server Alert: CPU Usage High",
    "resent_date": "0001-01-01 00:00:00 +0000 UTC",
    "body": {
      "text": "CPU usage on server production-web-01 has exceeded 90%.\nPlease investigate immediately.",
      "html": "<p>CPU usage on server <strong>production-web-01</strong> has exceeded 90%.</p><p>Please investigate immediately.</p>"
    },
    "addresses": {
      "from": ["alerts@monitoring-service.com"],
      "to": ["notify+YOUR_INPUT_TOKEN@notify.relaye.io"]
    },
    "attachments": [
      {
        "filename": "cpu_report.pdf",
        "content_type": "application/pdf",
        "data": "base64-encoded-content"
      }
    ]
  }
}
Accessing Email Data in Templates
When creating a connection for your Email input, you can access the email data in your template using Liquid syntax:
📧 New Email: {{ email_body.subject }}
From: {{ email_body.addresses.from[0] }}
Date: {{ email_body.date }}
---
{{ email_body.body.text }}
For more information on templating, see the Templating Guide.
Handling Attachments
Email inputs can process attachments and include them in your notifications. In supported output types (like Telegram), these attachments can be forwarded directly.
To reference attachments in your template:
📧 New Email: {{ email_body.subject }}
{% if email_body.attachments.size > 0 %}
📎 {{ email_body.attachments.size }} attachment(s)
{% endif %}
Common Uses
Email inputs are particularly useful for:
- Legacy Systems: Integrate with older systems that only support email notifications
- Monitoring Alerts: Receive and route monitoring alerts from tools that send emails
- Scheduled Reports: Process scheduled email reports into concise notifications
- Newsletter Digests: Convert newsletter content into chat notifications
- Customer Support: Route support emails to team chat channels
Troubleshooting
Common Issues
Email Not Received
If your email isn't being received:
- Verify the email address is correct
- Check your service's email sending logs
- Check if the email was filtered by spam protection
- Verify your Relaye instance's email receiving configuration
- Check the incoming logs in Relaye
Attachments Not Processing
If attachments aren't processing correctly:
- Verify the attachment size is within limits
- Check that the attachment type is supported
- Review the incoming logs to see if the attachment was received
Viewing Email Logs
You can view all incoming emails by:
- Going to the Inputs section
- Clicking on your email input
- Navigating to the Incoming Events tab
This will show you all received emails, their content, and their processing status.
Best Practices
- Use descriptive names for your email inputs
- Create separate email inputs for different services or notification types
- Set up email filters on your services to only send relevant notifications
- Use templates to extract the most useful information from emails
- Be cautious about email security and phishing attempts